


Photo: Ruth Eileen Photography
Now, I will be the first to admit that serious DIY’s are simply not my forte. I can put together a cute gift basket no problem. And hand me a cookie cutter and these adorable bunny ears will be on. point. but when it comes to larger projects, you can instantly count me out.
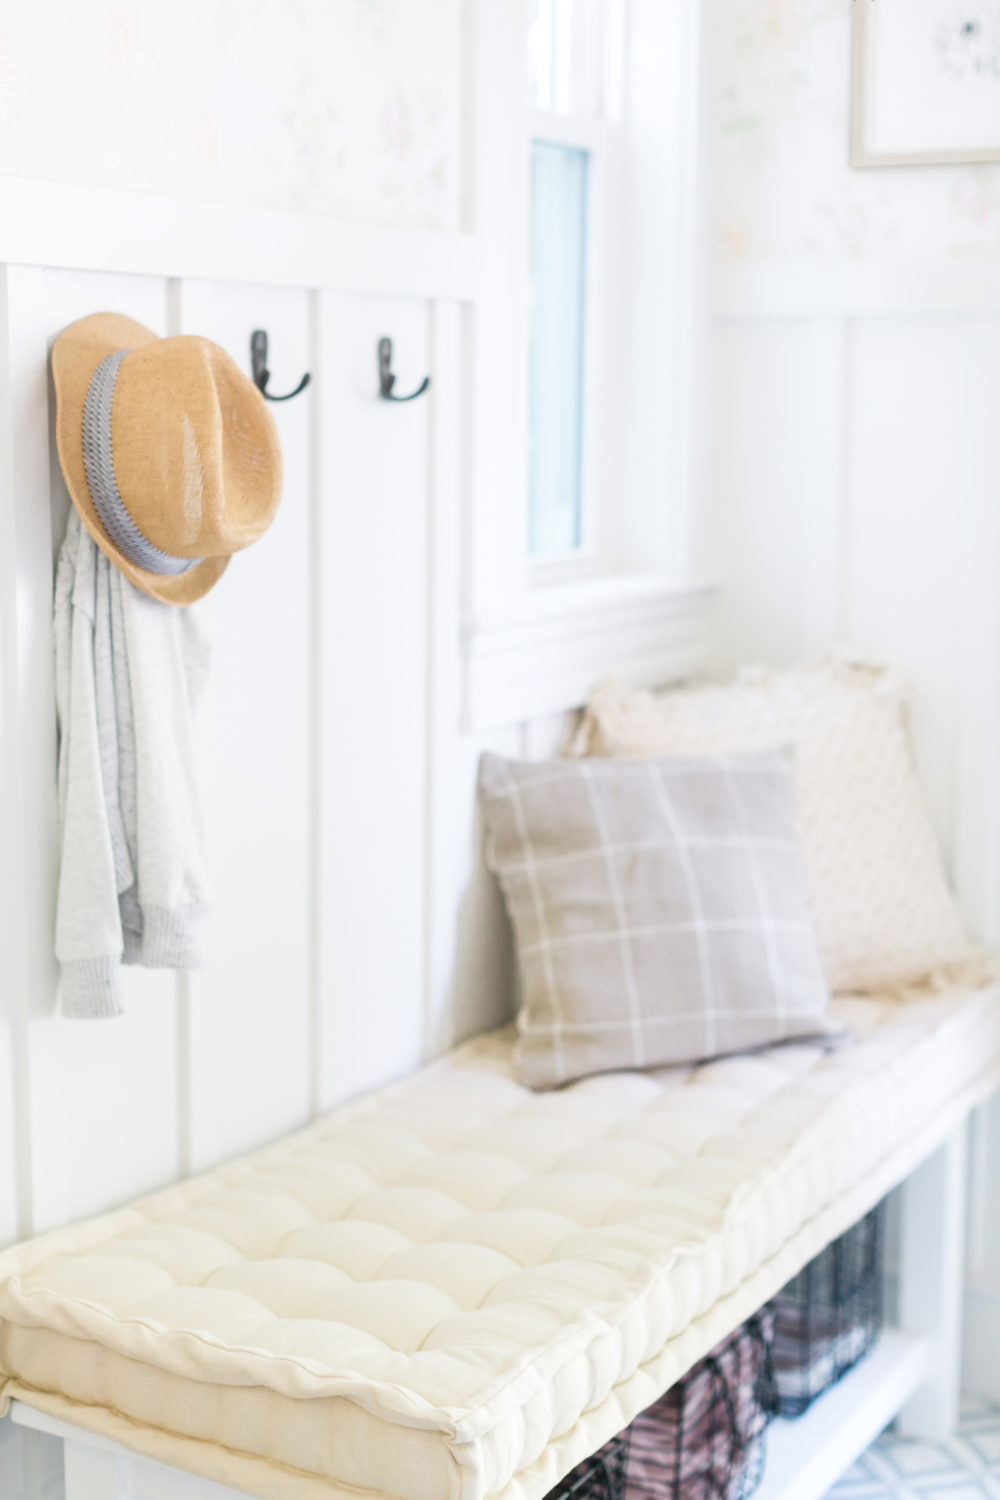
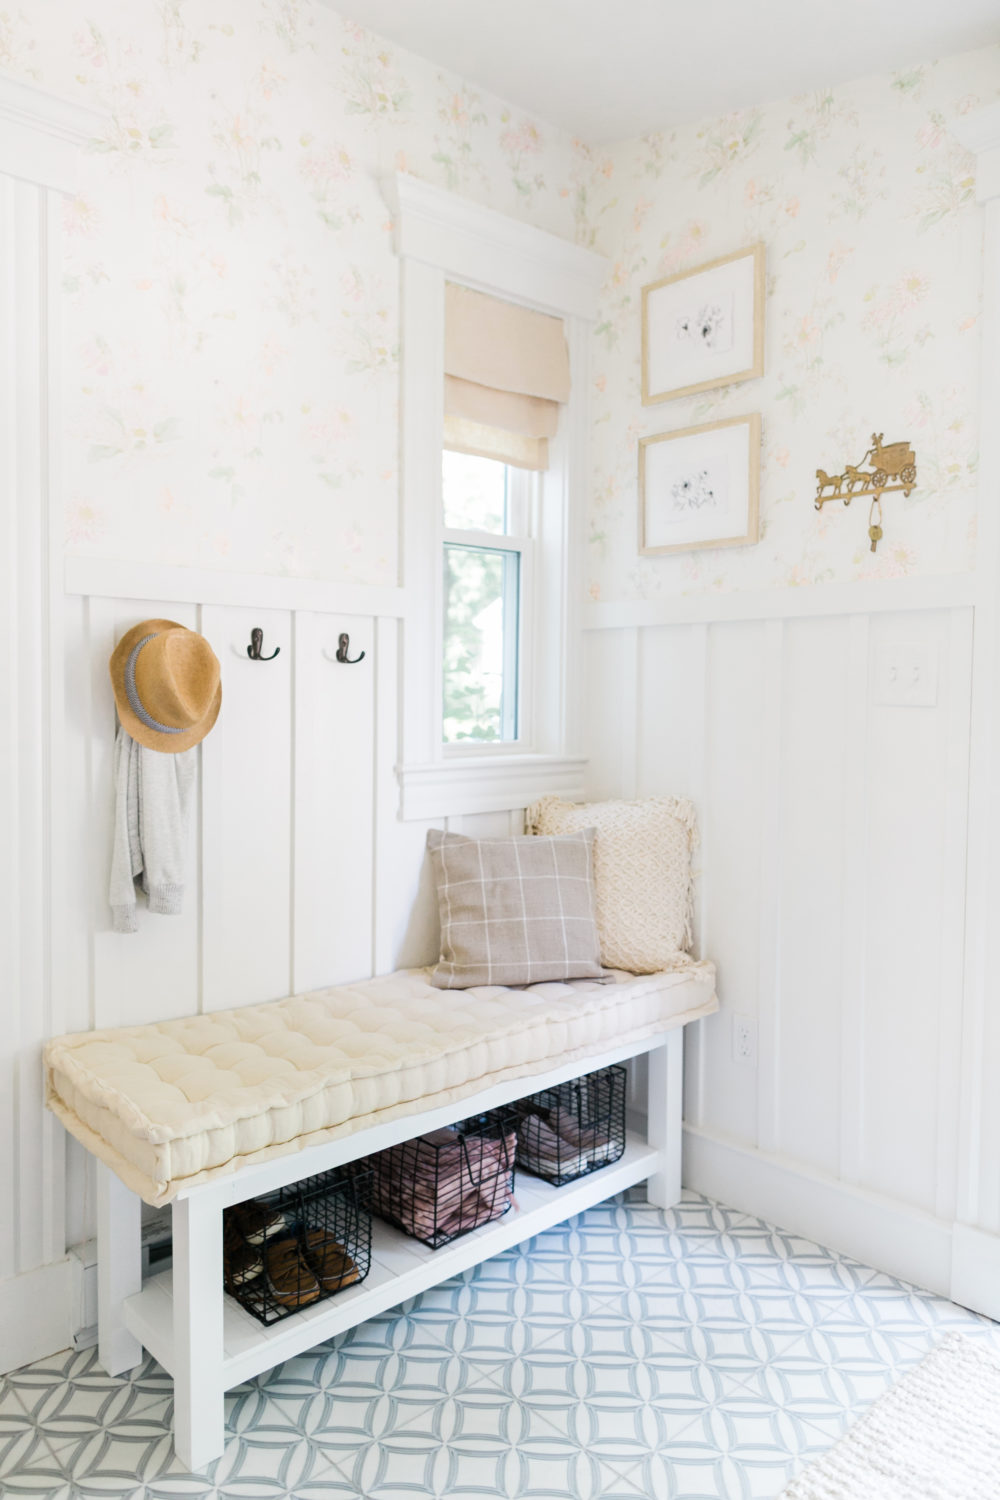
But my friend Jess? She is an entirely different breed. The woman is so talented and can DIY circles around the best of them – I’ve seen it myself a hundred times over and I’m never not impressed. So when we tackled her mudroom renovation together (you can read about that here!) and mentioned she would DIY a french tufted mattress to finish off her bench, I was firmly on board. Needless to say, the results were professional-level quality, and I’ve asked her to share the steps with us all today. Read on for all of the detailed instructions!
Note: if you do tackle this bad boy, please share on Instagram using #LarkandLinenDIY – I’d love to take a peek at your results
![]()
HOW TO MAKE A FRENCH TUFTED MATTRESS
![]()
SUPPLIES
INSTRUCTIONS
1) You can usually get the foam cut to the length you need at the store, but you may need to trim the width at home. Use a sharpie and a yardstick to draw out a line on the top & bottom of the foam. Then use a serrated bread knife to cut the excess foam off. You’ll want to keep the knife as straight as you can while you cut (it may help to check to make sure you’re hitting the sharpie line on both sides of the foam as you go) to get a nice clean edge.
2) Cut the batting to size for each of the six sides of the foam. In a well-ventilated area, use the spray adhesive to lightly attach the batting pieces to each side of the foam.
3) Use the linen to make a simple box cushion (you can follow a tutorial like this, just skip the zipper and leave one short edge open so it’s easy to get the foam inside after).
4) Stuff the foam & batting inside the fabric cushion cover. Sew the open edge shut. The fabric cover should be somewhat loose and baggy around the cushion.
5) Welt the cushion (aka the stitches along the top & bottom on all four sides). To do the welting stitch, take a long piece of thread, run it through the needle, and make a large knot at the end. Start with one corner of the foam and pinch the edge of the cushion where the top & side come together. Stick your needle in from underneath on the side, about 1″ from the edge, and push it up through the top side. Turn the needle around and stick it back down through the side of the cushion, about 1/4″ over from where it was (and again 1″ from the edge of the cushion), and pull it through. You can see example photos in this tutorial.
6) Move the needle over about 2″, then stick it back up through to the top side and repeat step 5 again. Try to keep the stitches as consistently spaced as possible. Continue doing around the enter top edge of the cushion, then flip the cushion over and repeat on the bottom side of the cushion, lining up your stitches with the pattern on the top side of the cushion.
7) Tuft the cushion (aka the stitches making the grid pattern in the center of the cushion). Start by using the yardstick and pins to mark out where you’d like to do each tuft. Based on the size of my cushion, I decided to do my tufts about 3″ apart and 3.5″ from the edges. Definitely double-check all your pins to make sure the grid looks as straight as possible before you begin, it can be kind of tricky to measure from the welted edges as they’re not perfectly straight.
8) Cut the thread into 18″ pieces (one for each tuft). You may want to put your work gloves on for this portion. Thread the 6″ needle, and push it through the first pin-point, from the top of the cushion through to the bottom, then turn around and thread it back up to the top as close as possible to the original point. I held the cushion sideways for this part. Then slide the needle off the thread, leaving two long strands of thread where the pin point was.
9) Use your hands (or your knee, if you put the cushion on the floor) to press down on the cushion to compress it as much as possible, while using your other hand to pull the threads tight and triple knot in place. Then release and trim the thread ends.
10) Repeat steps 8 & 9 until all the pins have been removed and each tuft has been tufted.
11) Scotchguard the cushion, since the cover can’t be removed for cleaning. Once it’s dry, enjoy!
filed in /


French mattress cushions are truly a labor or love, but such a beautiful result.
Thanks for sharing, it is a while that i was asking myself how to make it ;now i know
And i what to do one for my dog .
Céline
ummm now I want one for my dog too. That’s genius