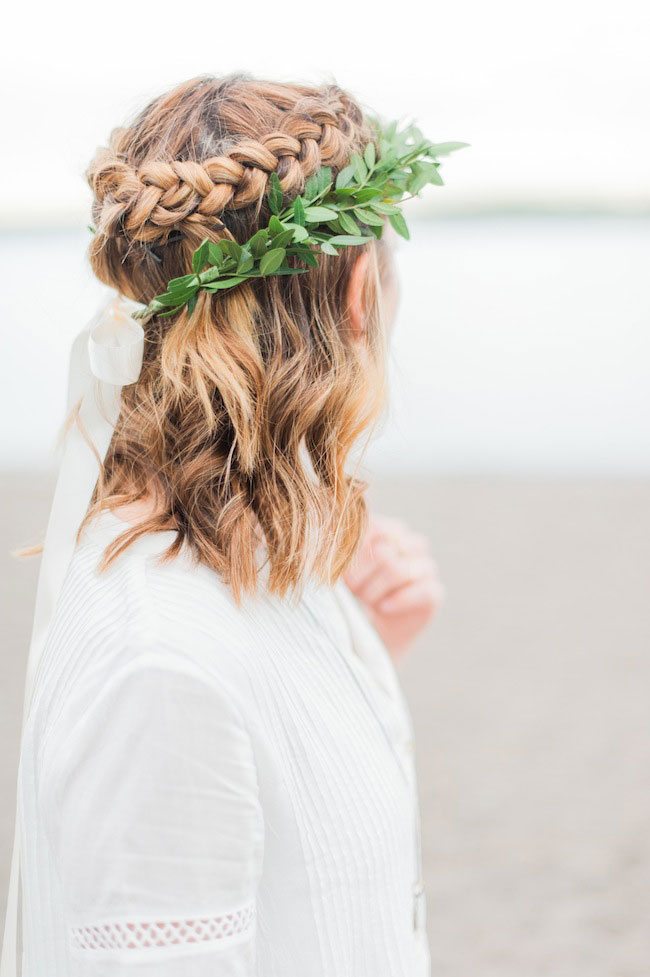
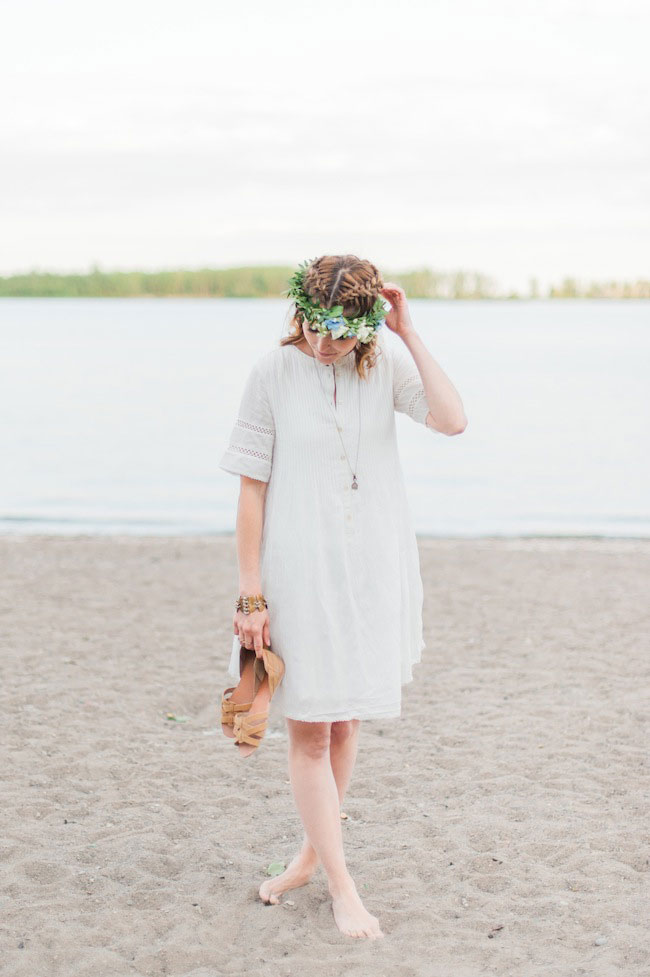
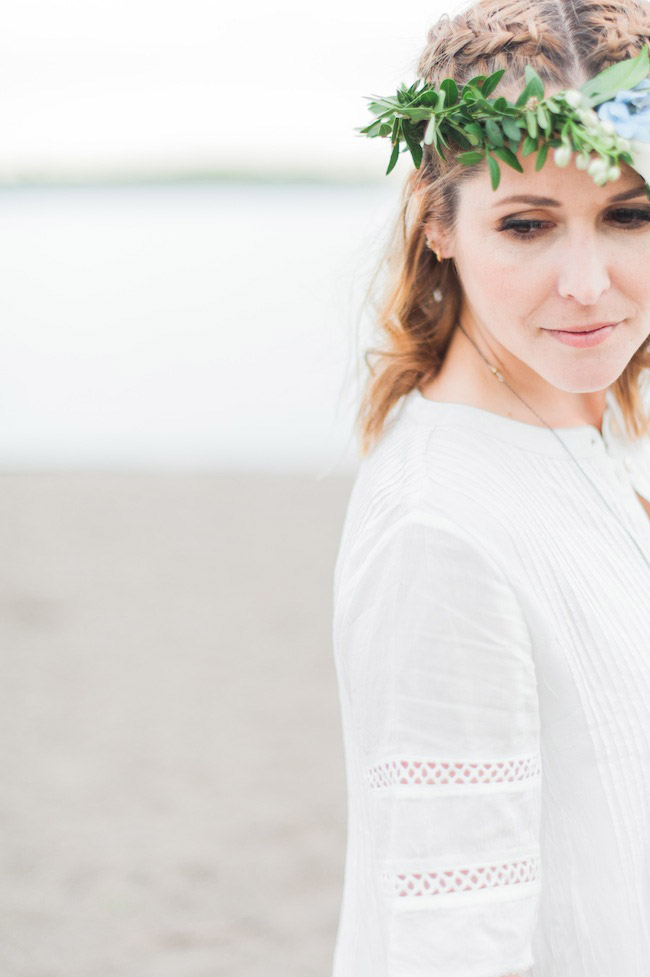
Hey guys! Aylin here sharing another hair tutorial. If you’ve seen my work, it’s no secret that I love braids! I wear them myself virtually every day. They’re my go-to and can be versatile for any occasion, and are an immediate fix for a bad hair day. Today I’m sharing the step by step tricks to achieving the braided crown. I’m seeing it everywhere these days and for good reason. It’s a beautiful style that can easily be dressed up or down – you simply can’t go wrong.
Tools & Products
Bumble and Bumble Hairspray “Does it All”
Bobby Pins
Mini elastic hair bands
Steps
No. 1) Start by curling the bottom half of your hair, one section at a time. To get the best loose waves, hold your curling want upside down, wrap your hair and hold it for 15-20 seconds. Once your whole head has been curled, loosely come through with your fingers to separate each curl and spray your whole head with hair spray.
No. 2) Divided the top half of your hair into two sections. You’ll be creating two braids and gathering them in the end
No. 3) Choose a side to start on and grab a small section of hair closer to the front of your head.
No. 4) Separate that small section of hair into three strands: right, middle, and left
No. 5) Take the right side, bring it under the middle, and over the left. Everything should feel as if it shifted to the right hand.
No. 6) Repeat this same step of under the middle and over the left, but this time add some hair to
that strand in the right and left sides.
No. 7) Keep going until you’ve reached the end and tie it with a mini elastic hair band.
No. 8) Repeat on other side.
No. 9) Cross your braids, and pin them into each other.
Hair Styling & Tutorial: Cabello by Carolina | Photography: Heidi Lau | Flower Crown: Blush & Bloom | Model: The Vault Files
filed in /


