Truth be told, Gaby and I had originally asked our friend Becky (flower master extra-ordinaire) if she’d be down to create this dreamy floating flower backdrop for our girly tea party, and she oh so kindly obliged. Unfortunately, due to a number of circumstances leading up to our party, Becky was unable to physically join us. In true Becky nature (aka never one to disappoint!), she sweetly sent us off with buckets filled with floral beauties, and a list of handy tips for how we could create a DIY flower backdrop ourselves. I was admittedly nervous at first – I mean, this was the show-stopper for our event and I had this vision hugely built-up in my mind. But I’m pleased to announce that it was absolutely FOOLPROOF to make. As it turns out, you pretty much can’t mess up anything when it comes to flowers. With photos from Heidi Lau, I’m sharing the steps that Becky shared with us below. And make sure you head on over to The Vault Files for more! In other news: be prepared to see flower backdrops at every event I throw from here on out. You’ve been warned.
WHAT YOU’LL NEED
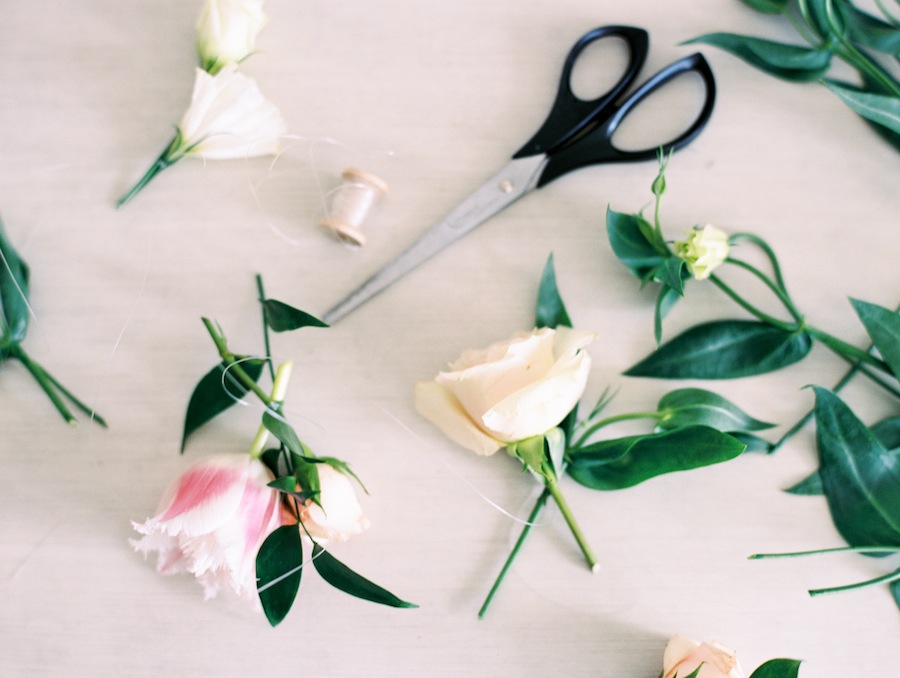
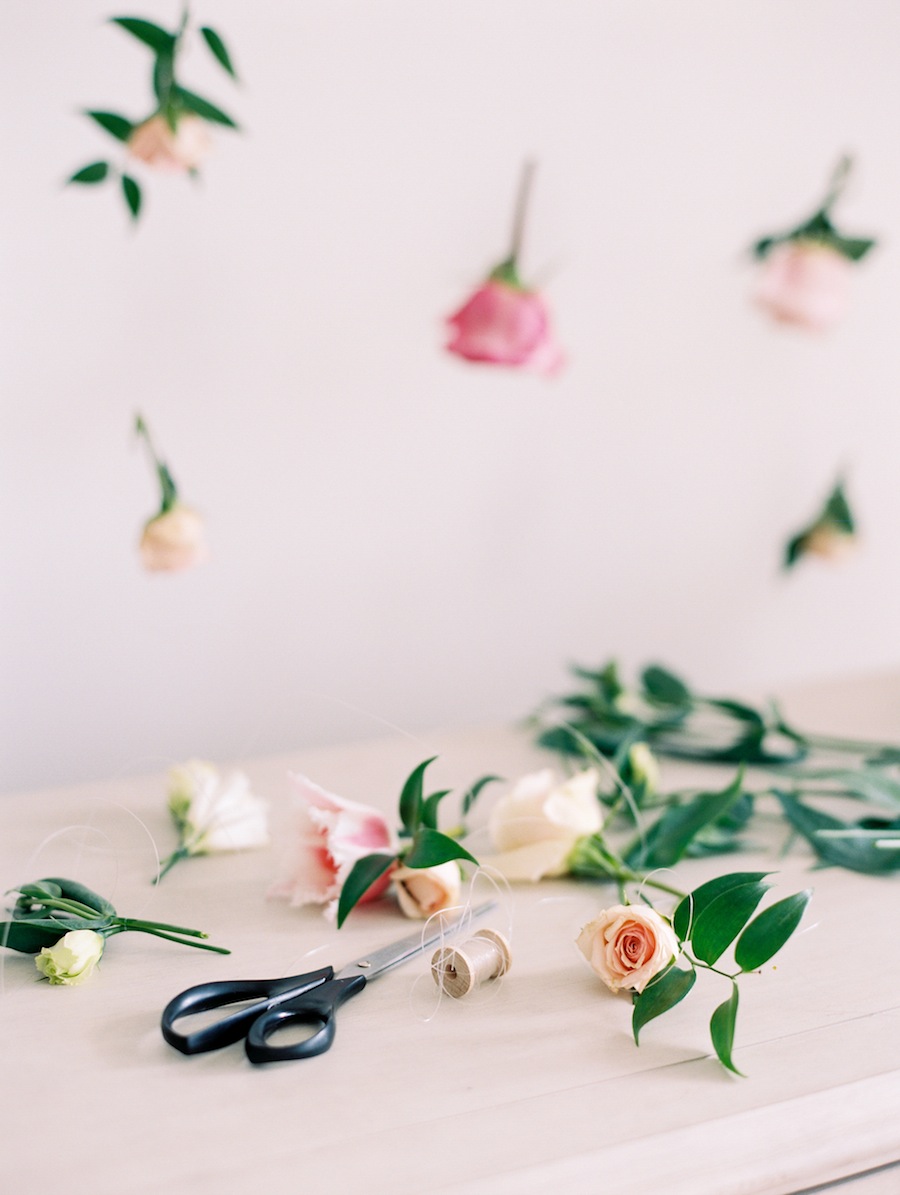
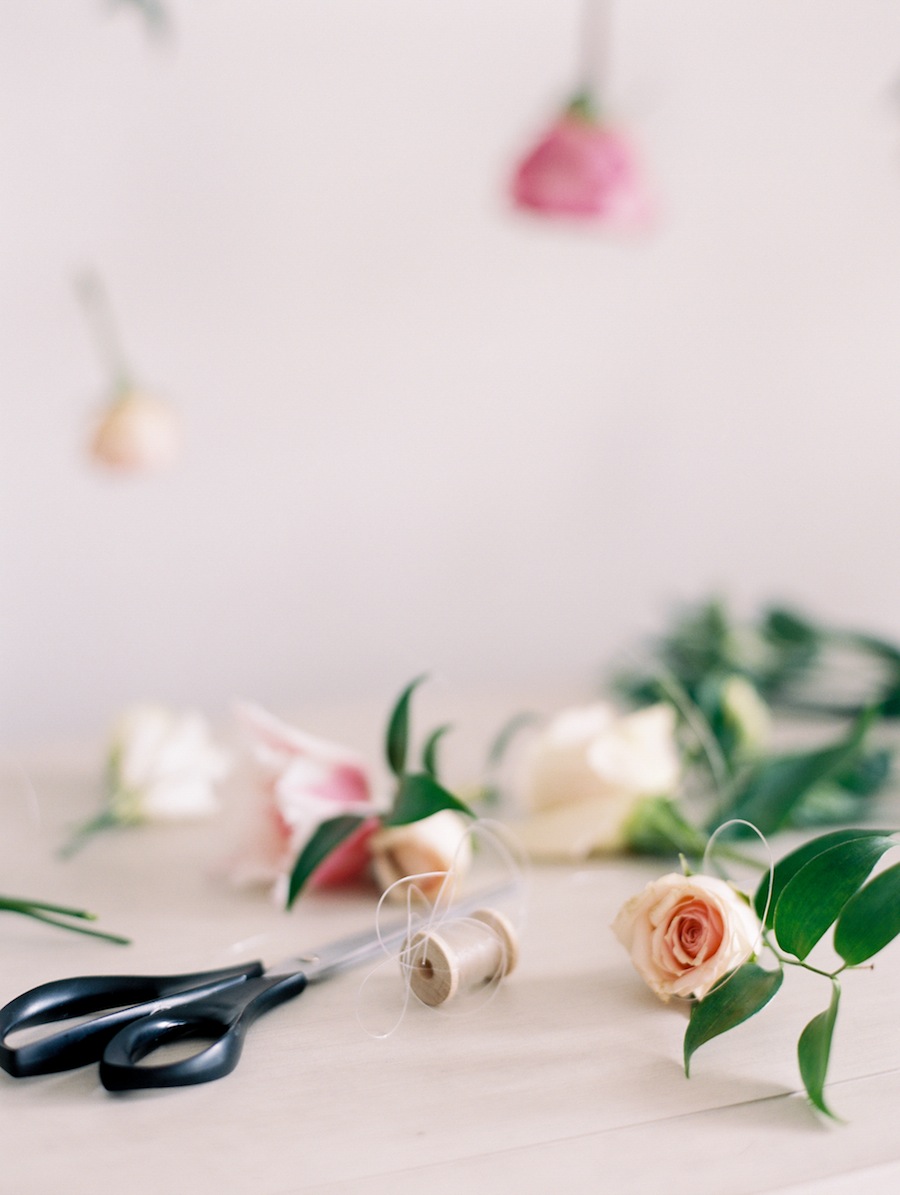
:: Fishing wire
:: A bucket of flowers and greenery, in colours of your choosing
:: Scissors
:: A 3-4′ length metal rod or wooden dowel (alternatively: washi tape)
 WHAT YOU’LL DO:
//STEP 1//
Cut your fishing wire to desired length (we cut ours about 4′ long, and we used 8 strands)
//STEP 2//
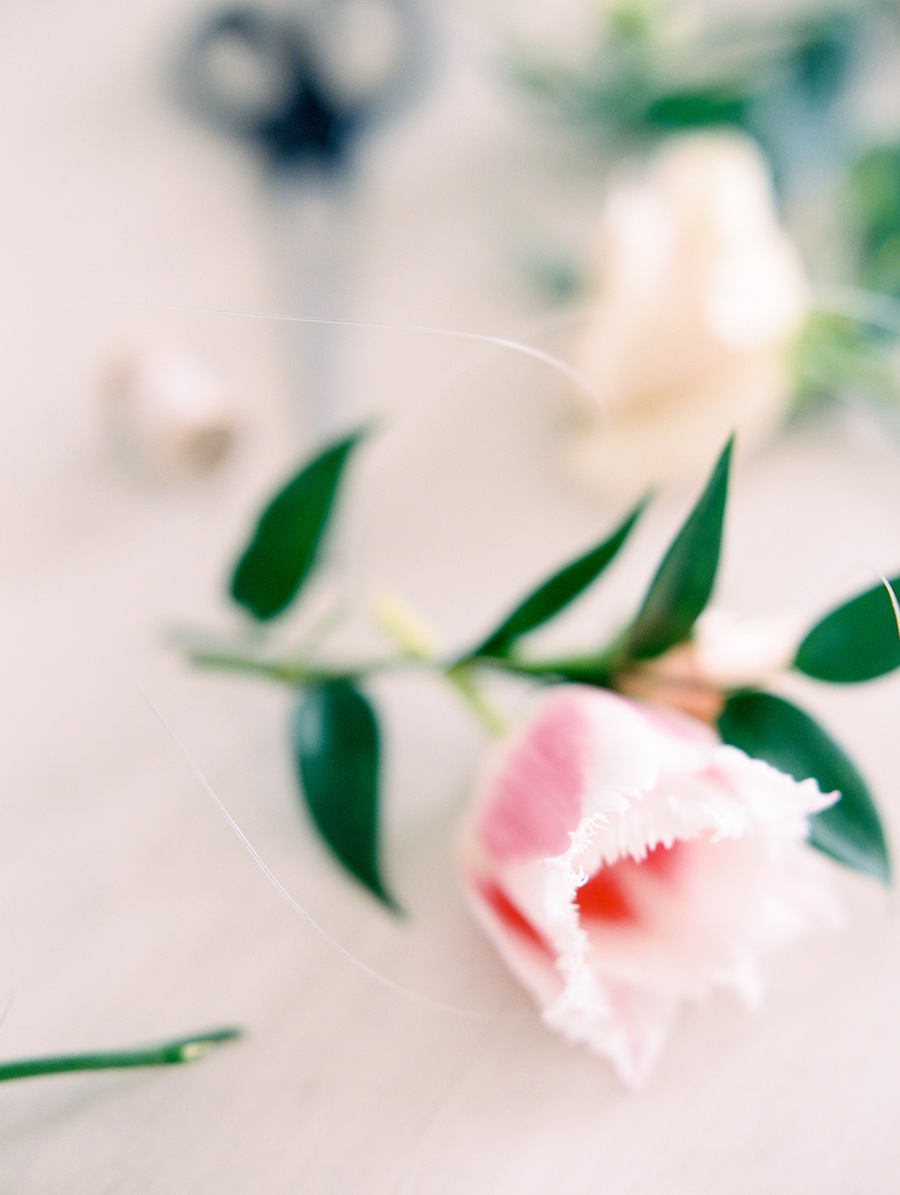
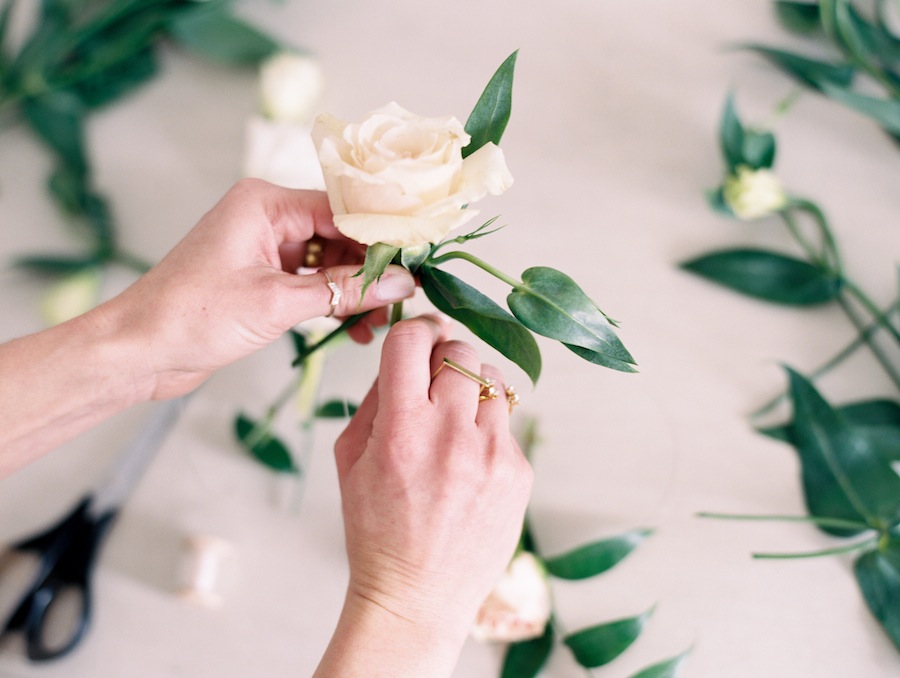
Cut each flower, leaving a 2-3″ stem, trimming any fussy leaves
//STEP 3//
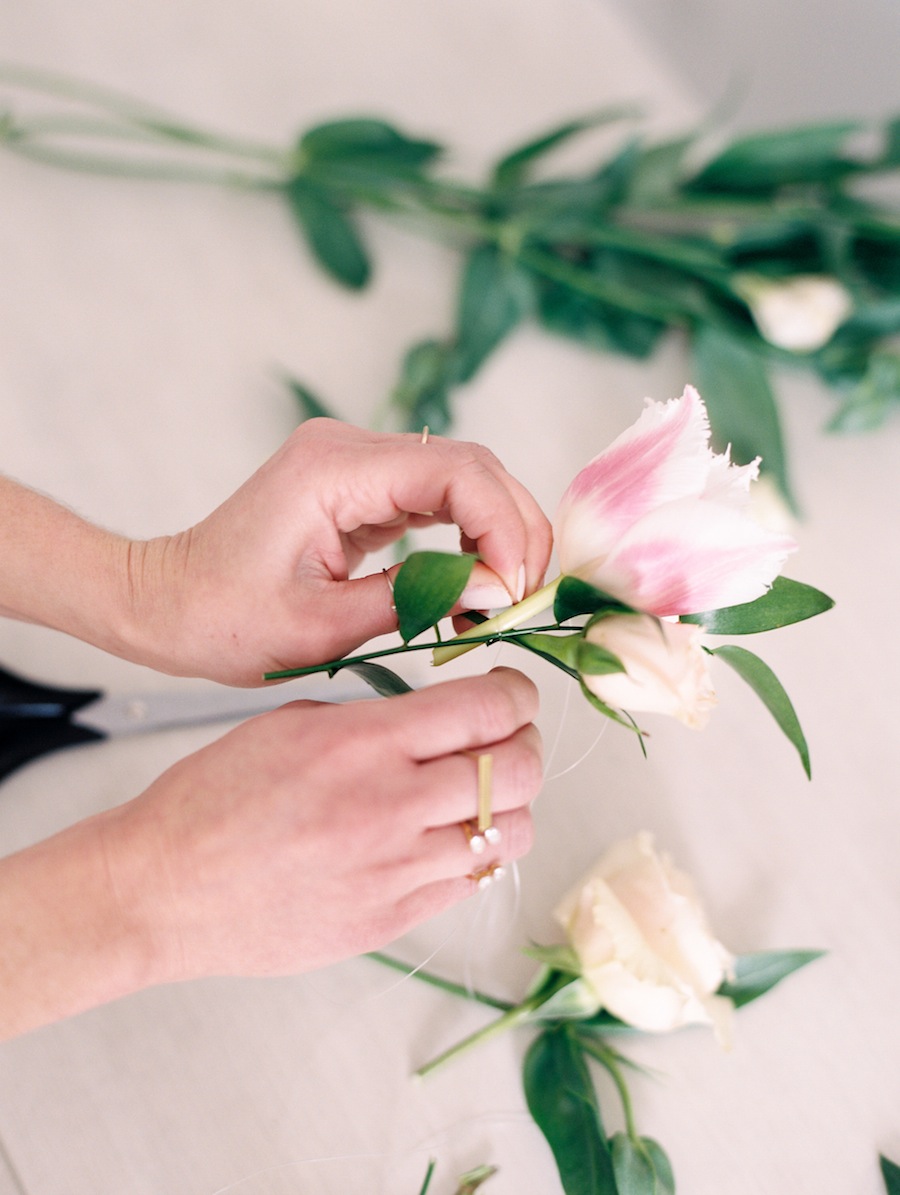
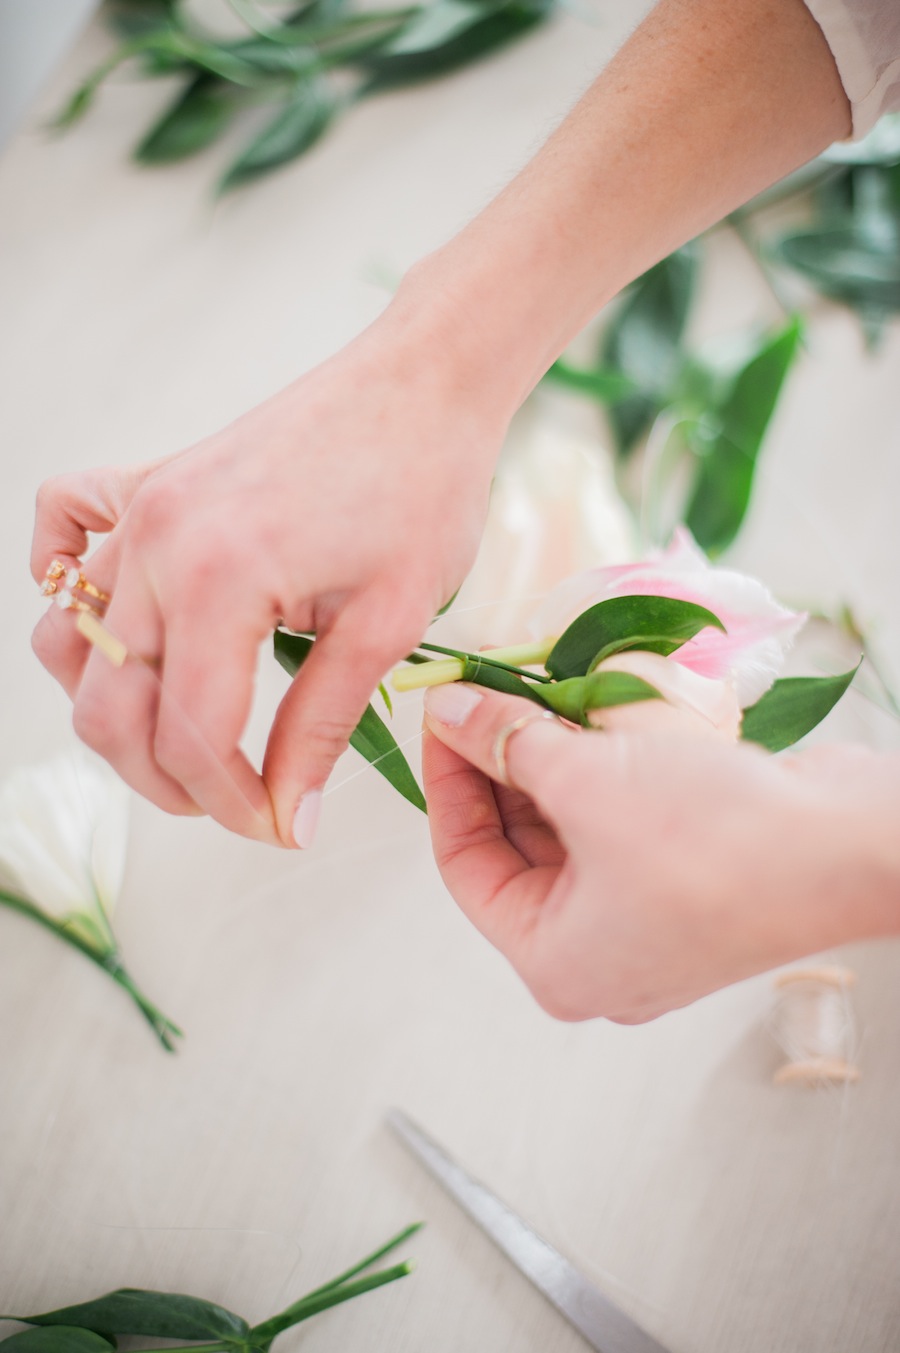
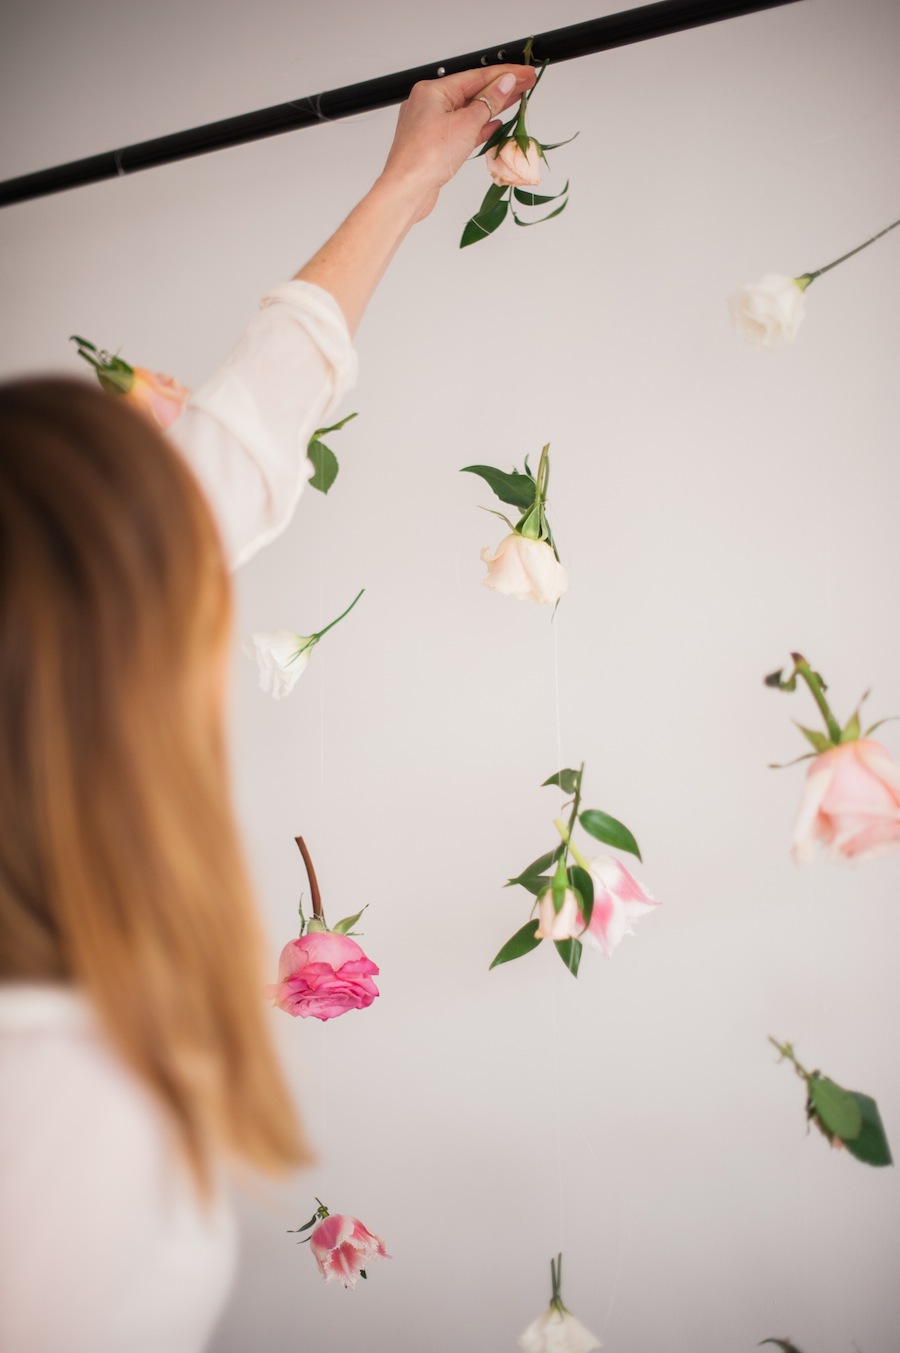
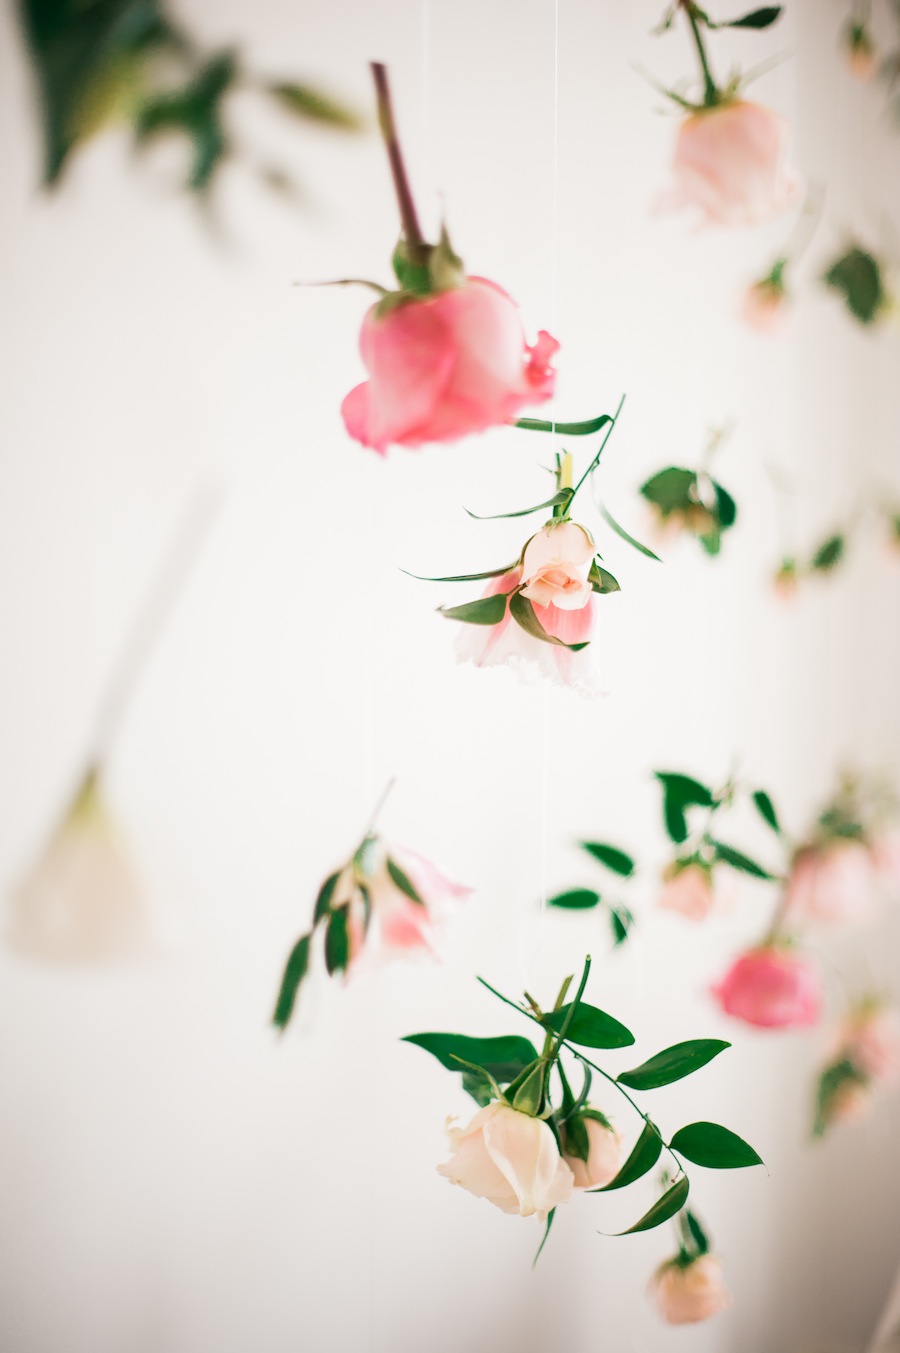
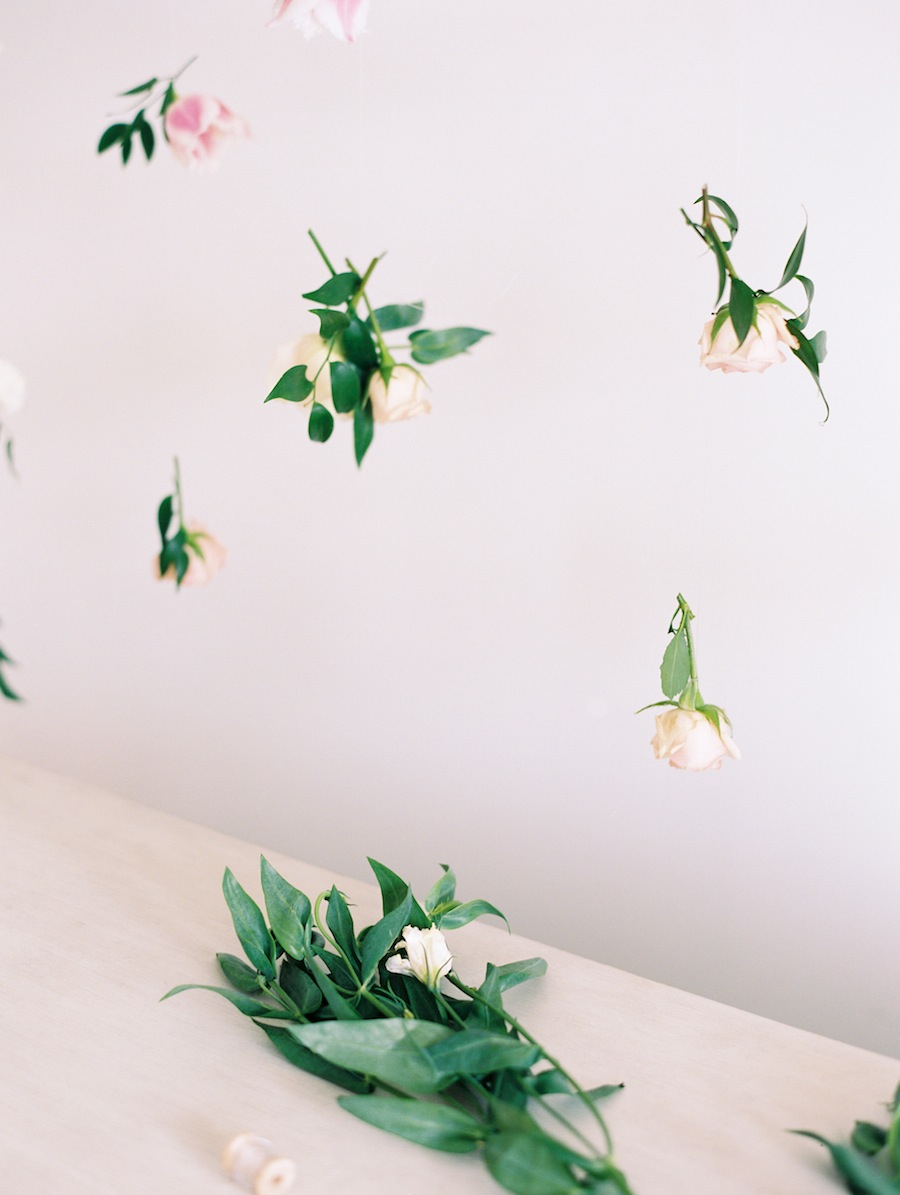
Grab your first length of fishing wire. Leaving 6-8″ or so at the top (so you can tie it to your rod or dowel), begin by tying individual blooms directly to the fishing wire. Every so often, tuck in a few leaves, or double up on your blooms, to keep things interesting. Try to play around with different textures, different colours, and different sizes, ensuring that no two flowers are right next to each other. And keep anywhere from 6-8″ between each bloom. Throw perfection out the window and simply have fun with each strand.
//STEP 4//
Repeat with remaining strands of fishing wire.
//STEP 5//
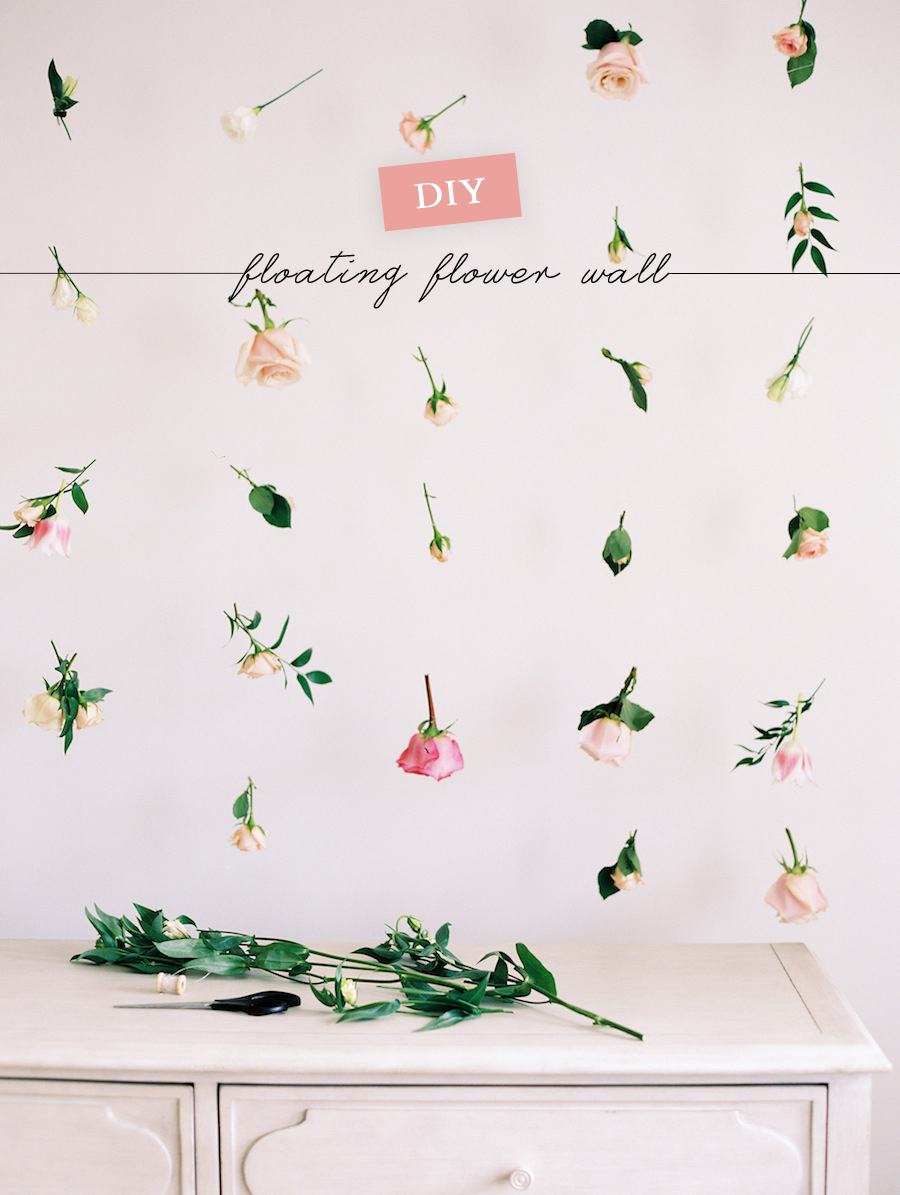
Once you have all of your strands of flowers, carefully tie them at equal intervals to your metal rod. Next, hang your rod on the wall using nails as support. Alternatively, tape each strand directly onto the wall using colourful washi tape.
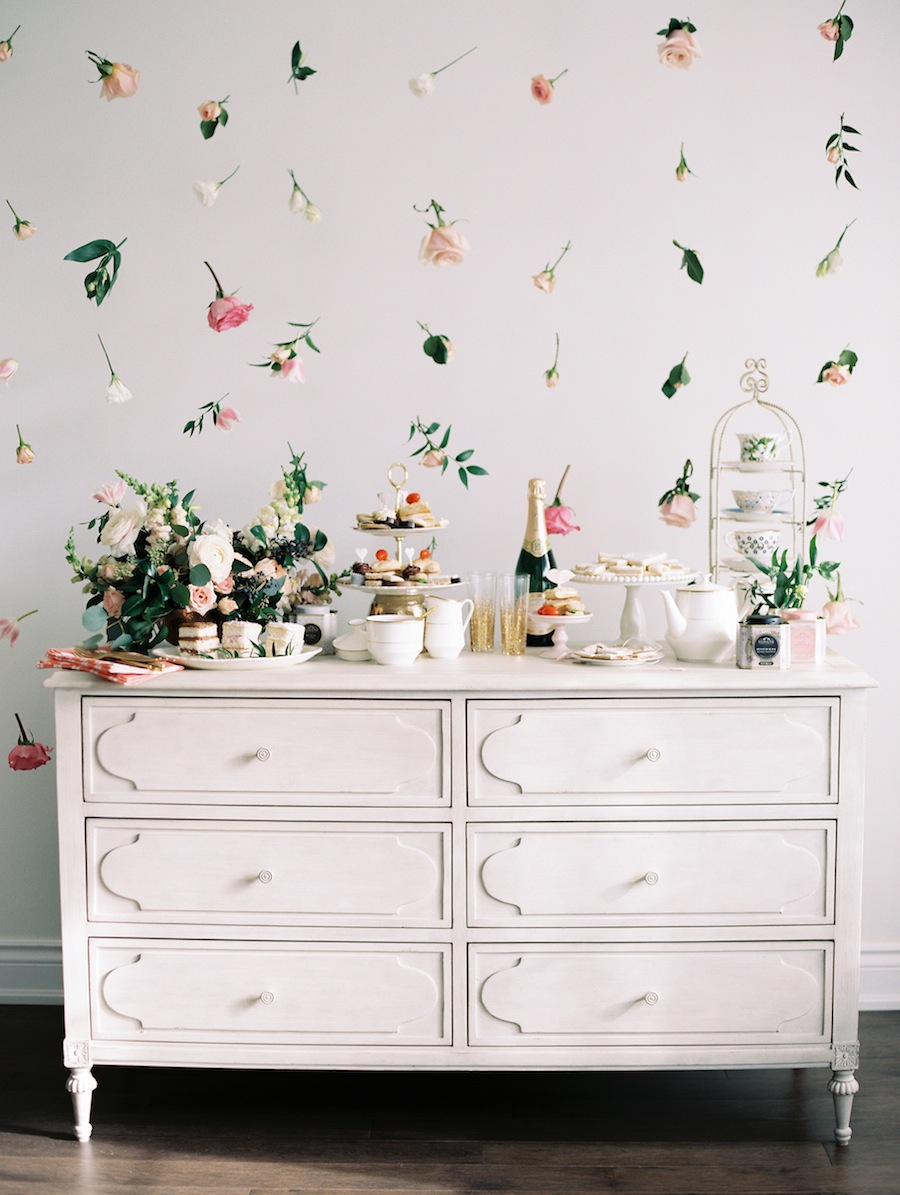 {the results}
![]() Flowers & DIY: Becky of Blush and Bloom | Photography:Heidi Lau | Design & Styling: Lark & Linen & The Vault Files | Extra love to A Side of Vogue & Talia for helping us make each strand (and significantly speeding up the process)
Flowers & DIY: Becky of Blush and Bloom | Photography:Heidi Lau | Design & Styling: Lark & Linen & The Vault Files | Extra love to A Side of Vogue & Talia for helping us make each strand (and significantly speeding up the process)
filed in /


What a beautiful tea party, I can just imagine the smell of fresh roses in the air. I will definitely try and make this for a birthday or baby shower.
Thank you.
Love this! How far in advance can this be done? Do the flowers need to stay in water up until party time?
We did it the morning of and it lasted all day! it was the winter though – I imagine you’d have less time with them in the summer :)
Hi I love this DIY Idea for a wedding backdrop! When you say “a bucket” of flowers how many stems would you say that you actually used for the 8x 4ft strands? I’m looking to do a floating flower backdrop for my wedding and am not sure how many fake flower/greenery stems is enough. Thank you for sharing this tutorial!