


Photo & Design: Studio McGee
SHOP THE POST:


Alright you guys, I got a lot of great feedback on my “designing a foyer” post (definitely check it out here if you missed it!), so I thought I’d continue to really break down the rest of the spaces at Project: Columbine in a similar fashion. Today we’re going to take a bit of a closer look at the living room.
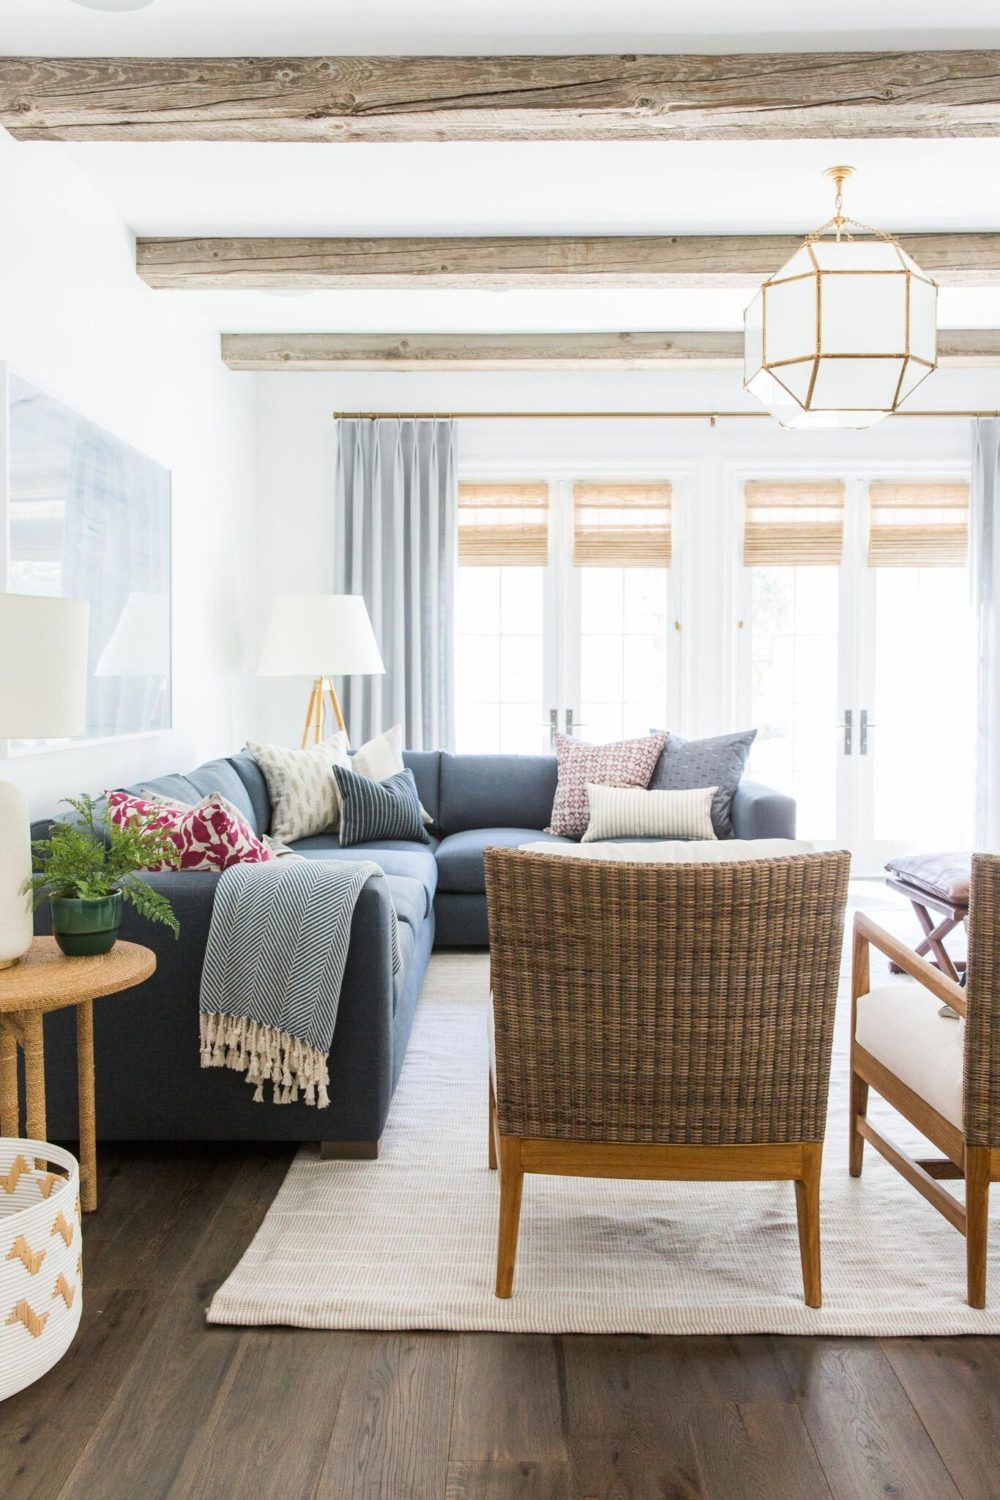
Like many homes in Toronto, square footage tends to be at a premium (hello big city living!), and while this home in particular is actually on the more generous side in terms of square footage, the living room in particular was most definitely on the tighter side of things. As a family of three (complete with a tiny tot in tow) who also loves to host friends and family of all ages, the goal for their small but brilliant living room was to create a space perfectly designed for entertaining and lounging alike, that didn’t sacrifice storage or seating. No easy feat, I will be honest, but as you’ll see below we definitely maximized everything to the utmost potential. But before we go there, here’s a peek at where we landed inspiration wise (thank you Pinterest!)
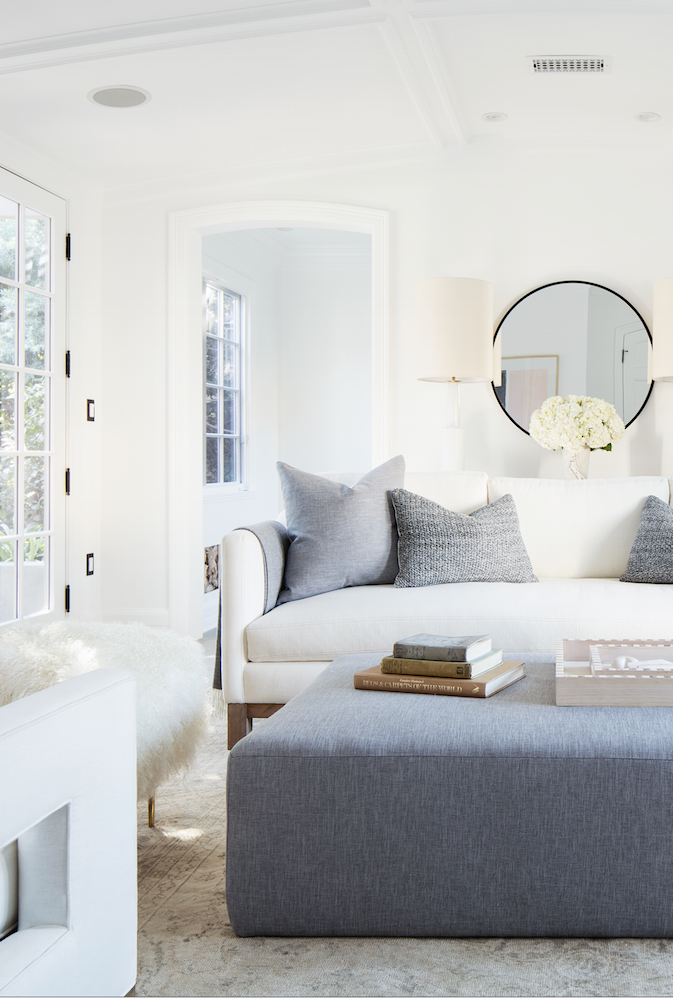
Photo: Joe Schmelzer | Design: One Kings Lane for Erin Fetherston
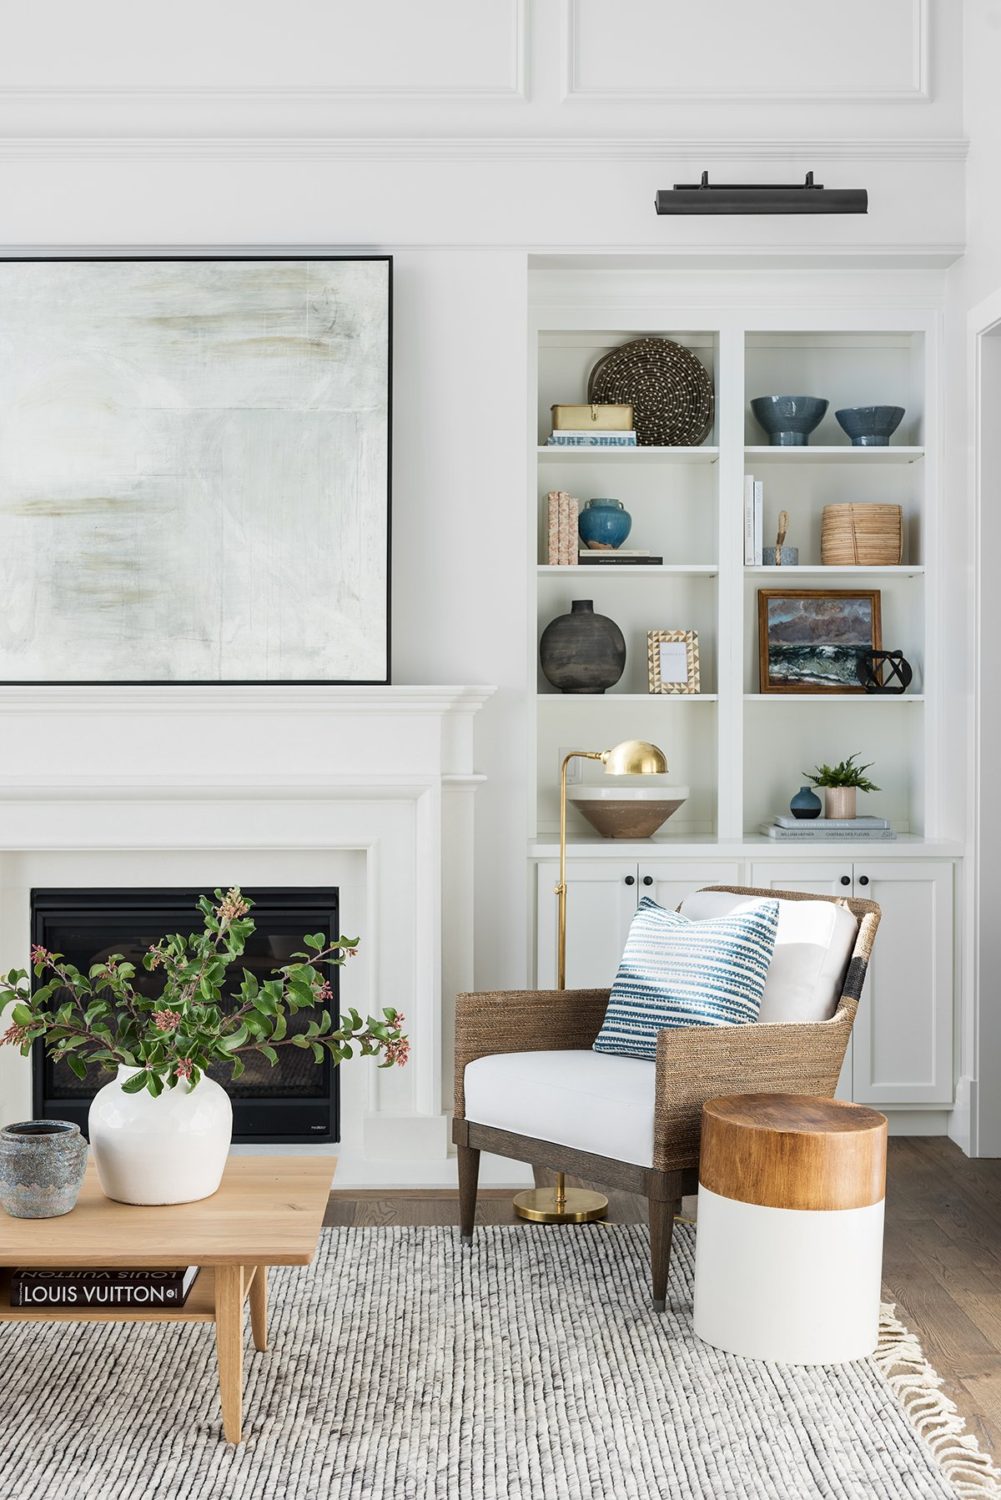
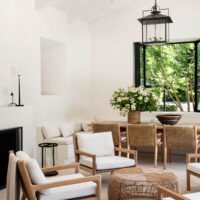
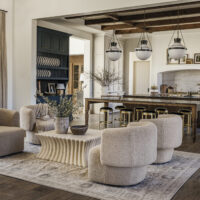
Photo & Design: Studio McGee
Casual, yet still incredibly elegant, was the name of our game. And texture of all forms most definitely reigned queen. We mixed material (velvet meets cane meets linen), pattern (stripes and solids and batik galore!*) and made sure to anchor it all with a virtually indestructable vintage rug (my favourite tool when kids are at play). Here’s a quick peek at how I’ve translated those beautiful inspiration photos into something more tangible.
*ps if you missed my post on my top secret to mixing and matching pillows, definitely check it out right here

SHOP THE POST:
SOURCES :: 1) Woven Chair | 2) Herringbone Tile | 3) Chandelier | 4) Ottoman | 5) Rug | 6) Charcoal Pillow | 7) Patterned Pillow | 8) White Pillow | 9) Boxes | 10) Ceramic Knot | 11) Black Matte Vase | 12) Gray Vase | 13) Brass Vase | 14) Blue Velvet Sofa | 15) Ribbed Vase | 16) Gilded Glass Vase | 17) Cement Candle
Ultimately, this right here is where we landed in the end, and I for one could not be more pleased with the results. Our goal of maximizing the storage and seating was most definitely achieved with the addition of a deep window bench with storage below (designed to match the existing built-ins). A luxe velvet sofa, treated to withstand tiny sticky fingers, feels both indescribably glam, yet totally cozy all at once, really set the stage. And an upholstered bench pulls double duty as a spot to rest ones feet at the end of the long day, or additional seating during a busy holiday party. Vertical storage not only makes the room feel significantly larger, but also allows all of the unsightlies to be tucked away at the end of the day. In the end, this room works hard on both the form and the function part, and I couldn’t be more thrilled with the results (spoiler alert: my clients tend to agree!)
For all of the final sources, in addition to more views of this living room, head on over to the full reveal post for this project right here!
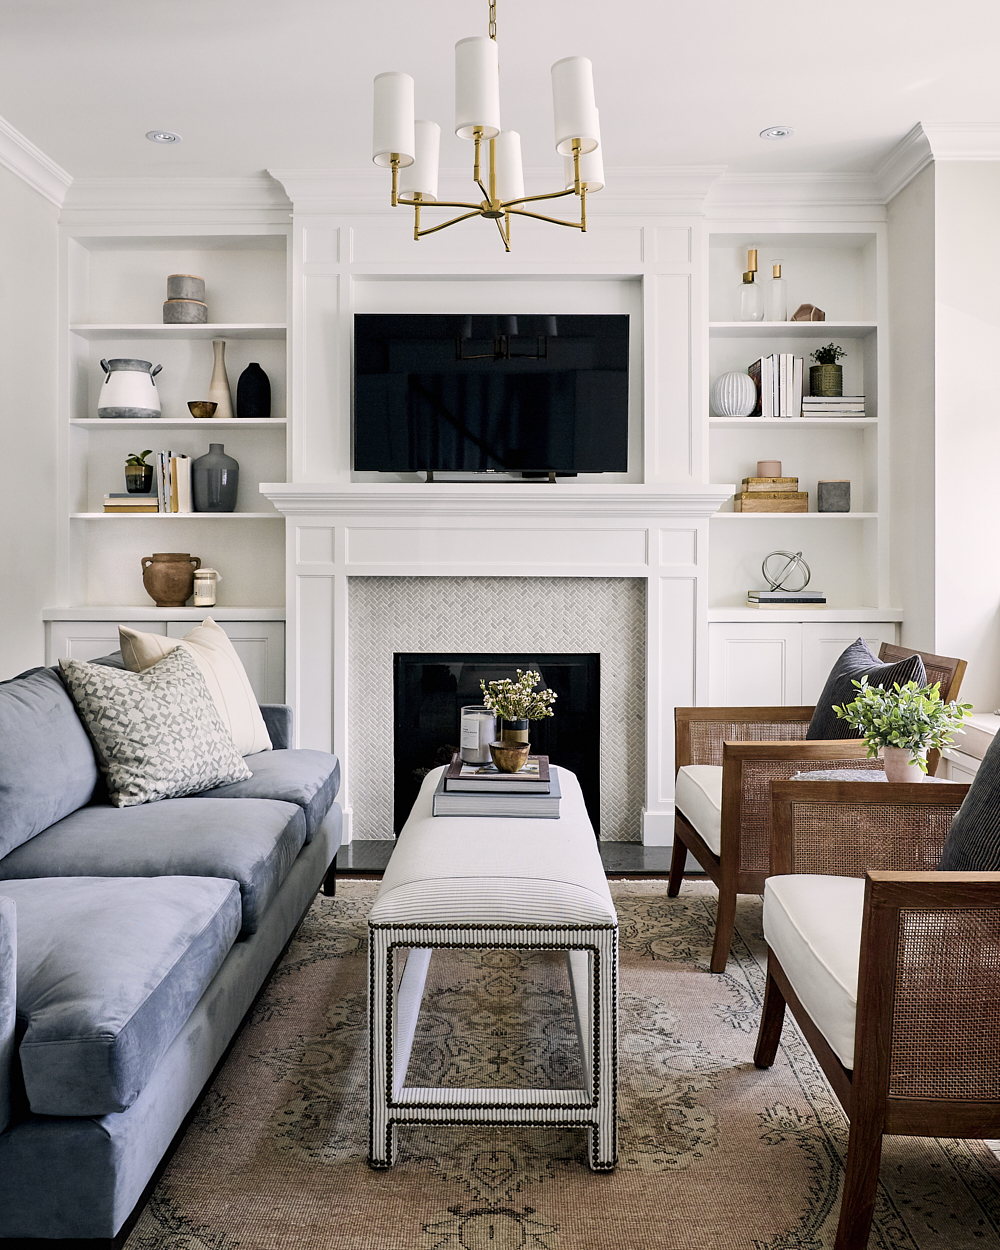
Photo: Will Reid
CHECK OUT THE REST OF THIS PROJECT HERE
filed in /


Wondering about the source of the picture above the fireplace. Love it!
Unfortunately I’m not sure off hand! It might be worthwhile to reach out to the designer. I think they’re pretty forthcoming with sources!
Stunning Writing!! Keep up the good work.