


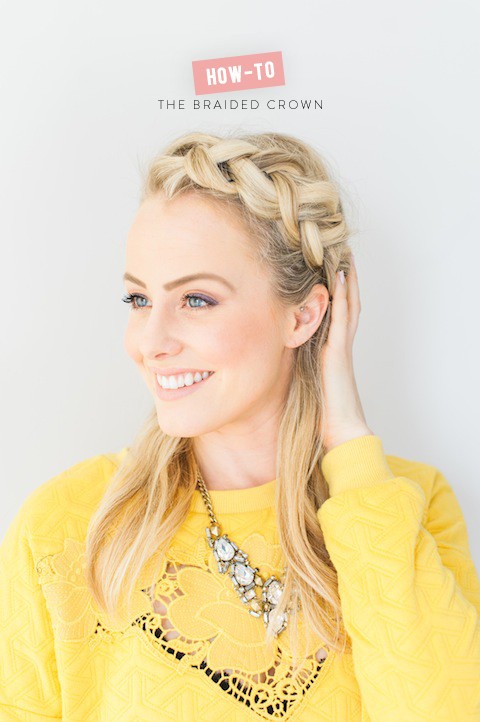
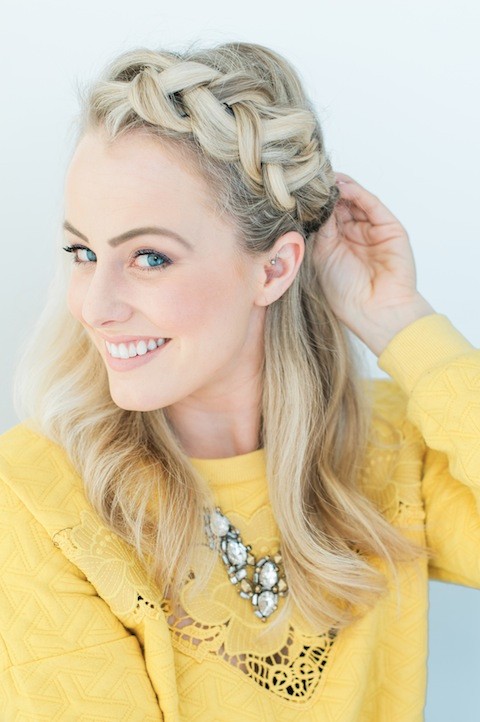
Though I like to think that I can hold my own in the hair department, I must admit that I pale in comparison to my darling friend Lexi. So when I was brainstorming this braid bar mini series to share with you guys, it only made sense to ask her to come on board to help me out. This girl right here? She’s a braid genius through and through. And this time she’s unearthing the secrets to the braided crown. And with a little practice, I pinky promise you can do it too! With photos from the always amazing Heidi Lau, grab every single step below!
ps – big hugs to the Glitter Guide for featuring this tutorial for us earlier this week!
![]() | STEP 1 |
| STEP 1 |
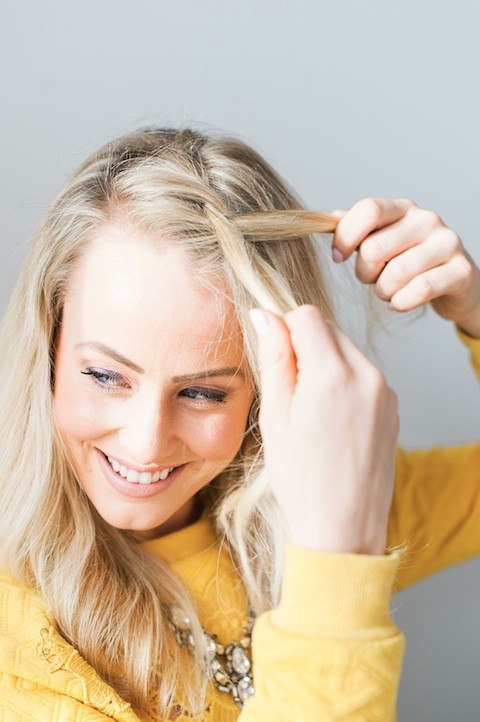
Give yourself a deep part and tease the crown of your head to add some volume at your roots.

| STEP 2 |
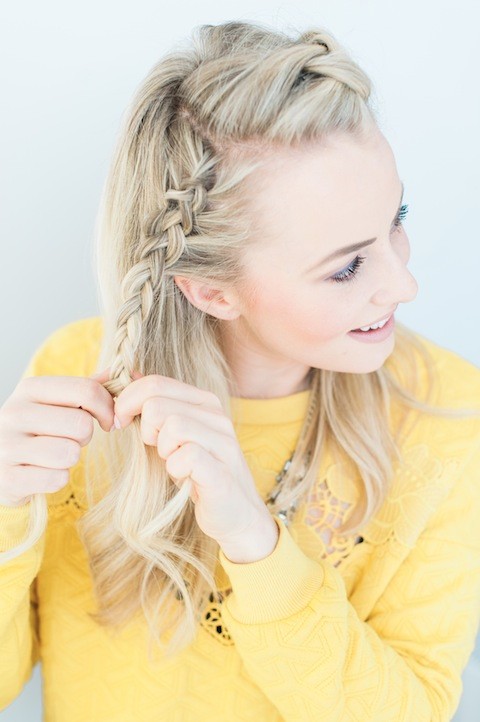
On the full side of your part, grab a 2″ section of hair and split it into three equal pieces.

| STEP 3 |
Begin by moving the front piece underneath the middle piece.
| STEP 4 |
Next, move the back piece under the new middle piece.

| STEP 5 |
Add a 1/2″ section of hair to your new front piece, and place your new front piece underneath the middle piece. Continue to do so until you’ve reached your ear.
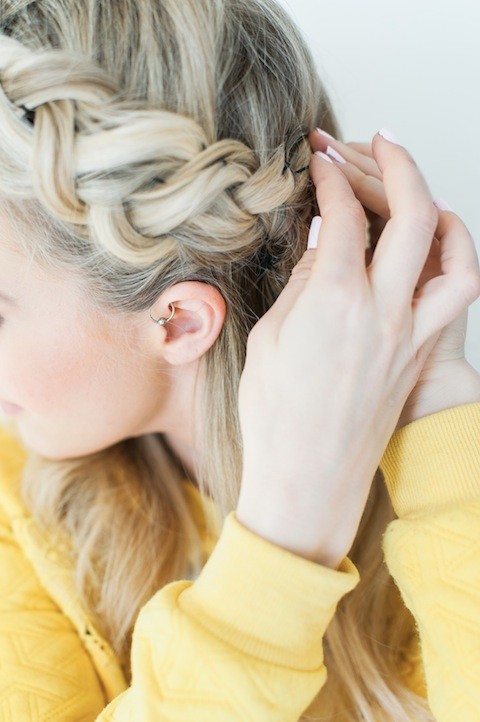
| STEP 6 |
As the braid begins to form, start back-pinning your braid with bobby pins. This should give it some volume! Try to tuck the pins inside the braid so they aren’t visible.
| STEP 7 |
One you’ve braided to your ear, continue to braid as normal (you no longer want to do a dutch french braid at this point) and tie off with a clear elastic.
| STEP 8 |
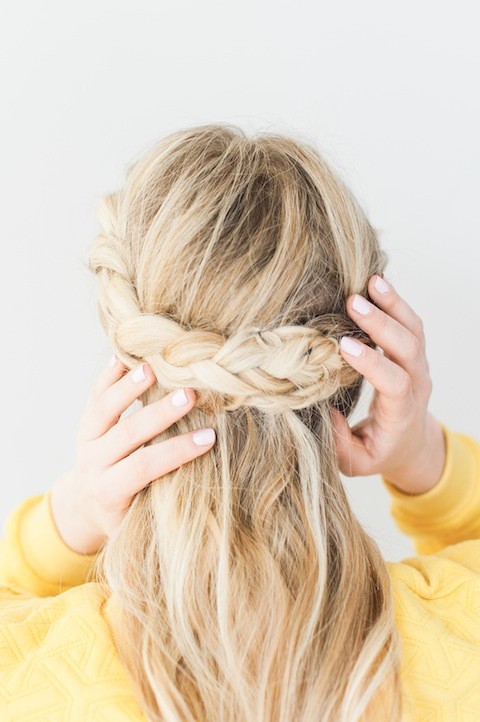
Repeat on other side.
| STEP 9 |
Wrap both braids around the back of your head, tuck the ends of each braid underneath each other, and pin as needed.
| STEP 10 |
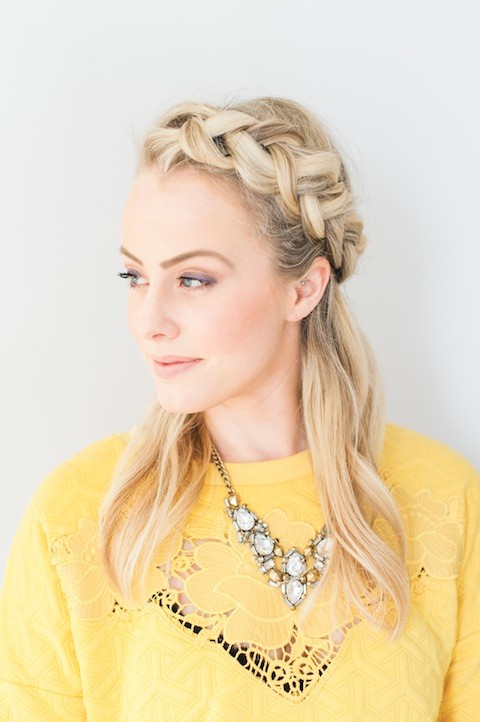
Don’t be afraid to gently pull apart your braid to give it some texture and added volume. Spray with a flexible hold hair spray and go about your day!
![]() Braids by: Lexington & Co. | Photography: Heidi Lau
Braids by: Lexington & Co. | Photography: Heidi Lau
filed in /


