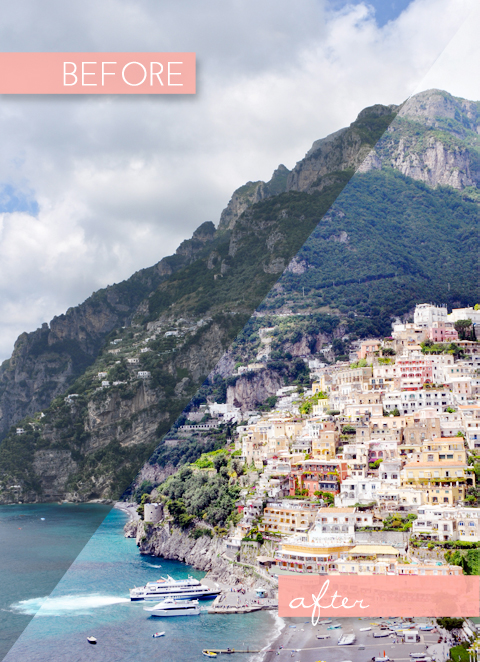
Bar none, the number one question I get asked around here is “why are you so pretty?” No. Terrible joke (I know). It’s “how do you edit your photos?” This question pops up in my inbox, on Facebook and even, on occasion, over Twitter almost every other day. I’ve always been slightly reluctant to share my steps because it’s honestly so ridiculously easy, and I’m a part-photo editing thief (I’ll get to that part later!) I’ve come a long way since my last photo tutorial (I cringe at the yellow undertones of those photos) and thought it was high time for an update. It should be noted that I am definitely (emphasis on definitely) no expert, and I’ll claim to be one as such. BUT I am quite happy with how my photos have been turning out as of late, so here goes!
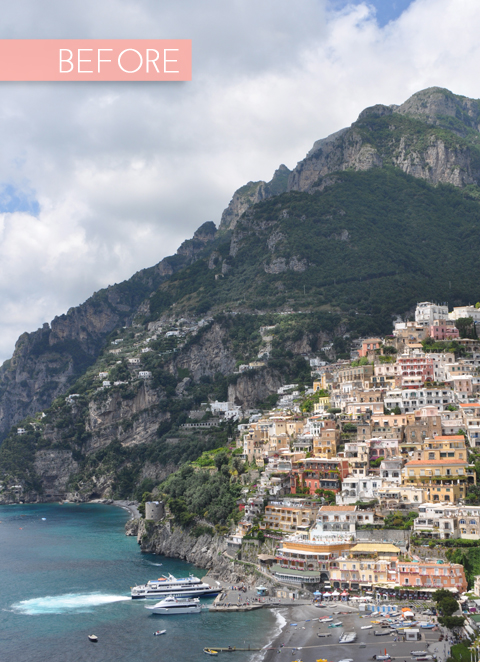
So I use Photoshop CS5 for all of my photo editing. If you don’t have Photoshop, I highly recommend you get it. It’s well worth the investment if you’re hoping to get serious about blogging (that isn’t to say that there aren’t other fab programs out there, I just don’t really have a ton of knowledge on them at this point!) So here’s a solid before picture from my recent trip to the Amalfi Coast. Pretty (I mean, it always helps to have a good subject matter), but kind of flat and sad.
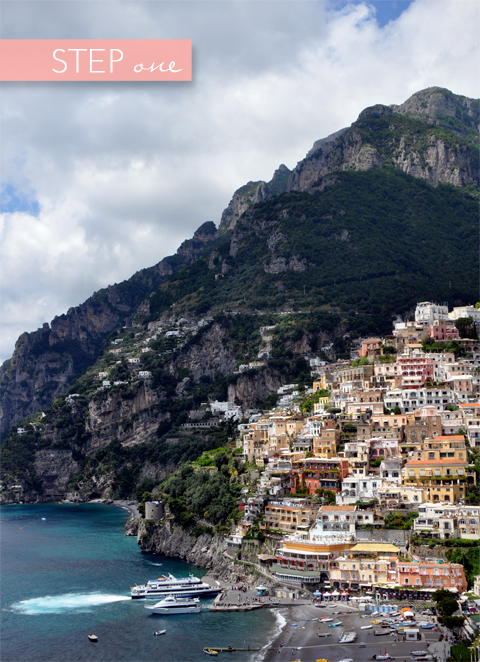
::STEP No. 1::
With your image open in Photoshop, click image > auto-tone. The results should look something like the above. It doesn’t ALWAYS work – sometimes it makes the colours look all wonky, but for the most part this is my first step. If auto-tone doesn’t look right, I usually head into image > adjustments > brightness/contrast and play around until the photo gets a little more, um, “poppy” (for lack of a better word – it should be noted that I am sick to death of such a word).
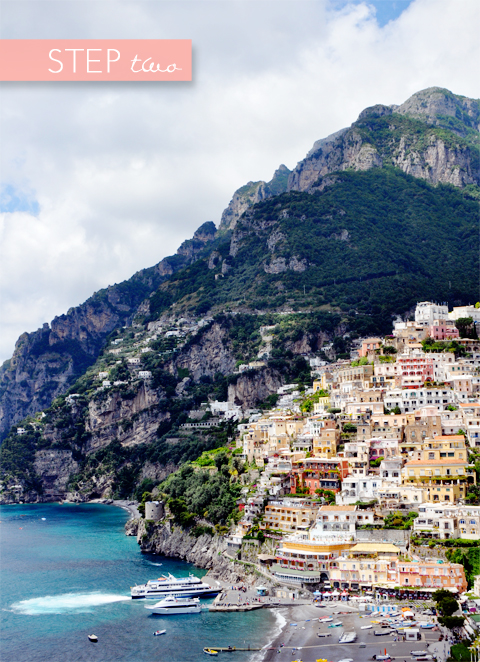 ::STEP No. 2::
This is the step in which I become a photo-editing thief. I downloaded Wish Wish Wish’s photoshop actions (right here) some time ago and have used it a million and a half times since. I’m totally obsessed.
Once you’ve downloaded it, click window > actions > wishwishone (the only one out of the three that I use) > and then push the little play (triangle) at the bottom right of the actions pop-up. The results should look like they do above – crazy vivid, saturated and vibrant.
 ::STEP No. 3::
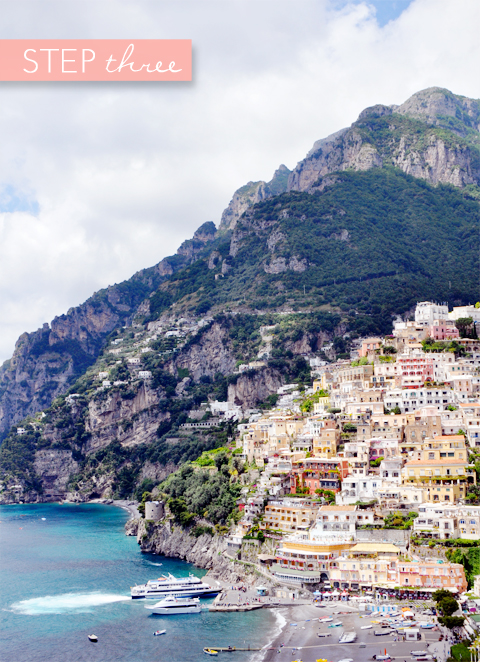
I’m really into “soft and pretty” type photos these days (I happily blame my exposure to them at SMP Living). So I like to take it up a notch and add a pretty pink filter. To do that:
:: Create a new layer (make sure the layer is at the very top of your layer palette like so)
:: Using the bucket tool, colour the entirety of your photo in solid pink (I use #fee5f3)
:: Change the opacity of the pink layer to 50%
:: In the drop-down menu in your layers palette, click on the “soft light” overlay
::STEP No. 4::
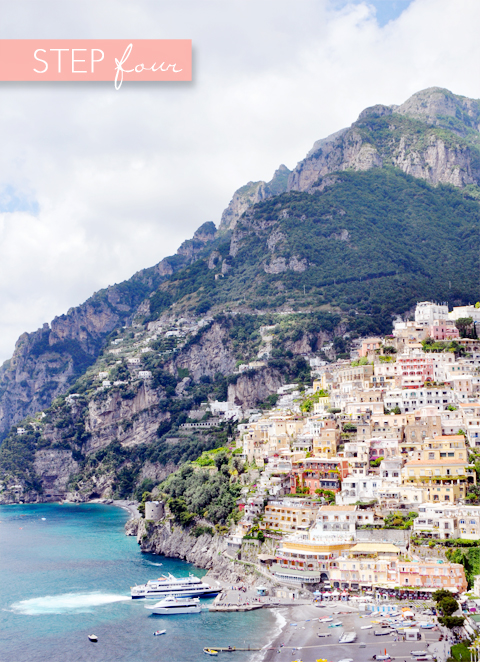
Lastly, I add a soft grey layer to tone everything down just a touch. To do so:
:: Add another layer on top of your pink layer
:: Using the bucket tool, colour the layer entirely in the light grey of your choice (I use #e4e4e4)
:: Change the opacity of the layer to 35%
:: Using the drop down menu in your layers palette, select the “soft light” overlay
TA-DA!

Let me know if you have any questions at all in the comments. I’ll do my best to answer them! And if I don’t know, I’ll try my darndest to figure it out for you ;)
![]()
All images original to lark & linen
filed in /


