


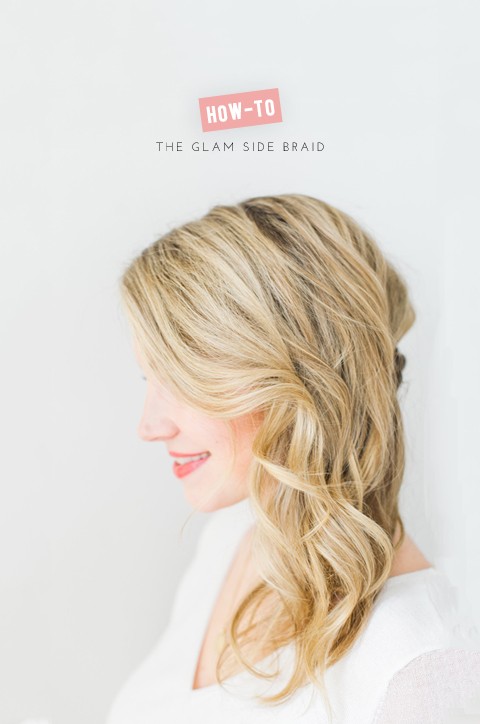
So I’m really bad at keeping secrets, and I’ve already let the cat out of the bag a few times about this collaboration, but I’m REALLY excited to introduce to you part one in what will be a four part braid series! I’ve teamed up with my beautiful friend and braid guru, miss Lexi of Lexington & Co., and the always fabulous Heidi Lau, photographer extraordinaire, to bring to you a collection of picture perfect, relatively simple, hair tutorials. First up: the glam side braid. Perfect for Christmas, New Years or heck, a random Monday morning when you’re feeling fancy. It’s elegant, it’s lovely, and with a little know-how, it’s totally and completely do-able! Simply grab the steps after the jump below.
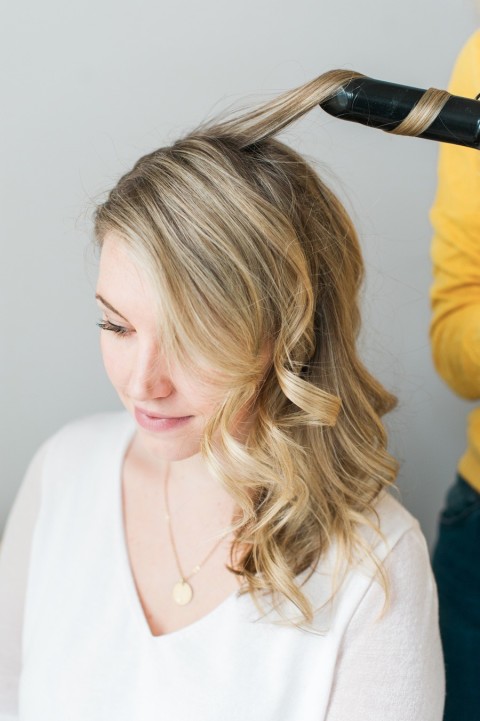
![]() | STEP 1 |
| STEP 1 |
Give yourself a deep side part and then curl your entire head using a 1 1/2″ barrel curler. Spray using a flexible hold hair spray!
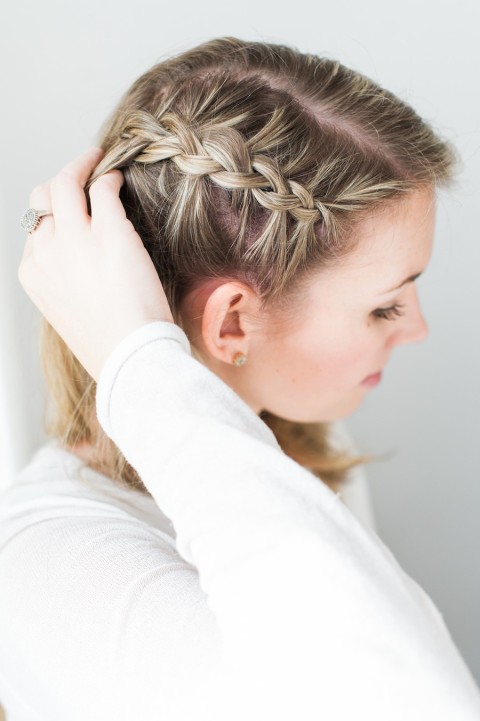
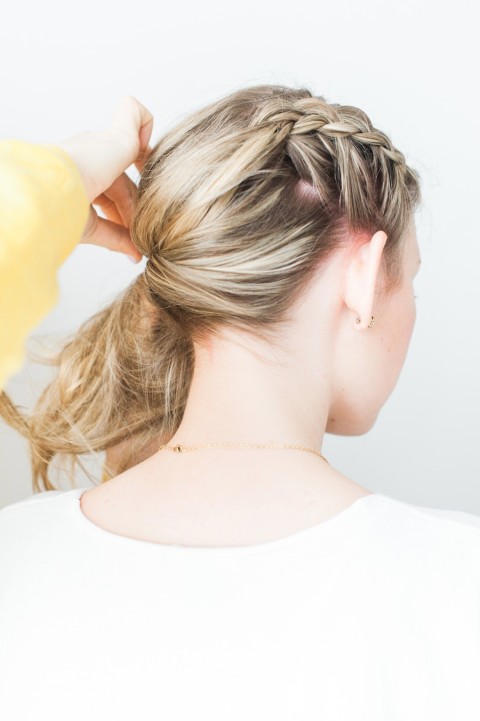
| STEP 2 |
Create a dutch french braid along the side of your head, parallel to your part, stopping when your part ends. Here’s a simple dutch french braid tutorial if you need some help! It may be easier to practice on a friend at first but I promise it’s do-able. When complete, pin your braid to your head.
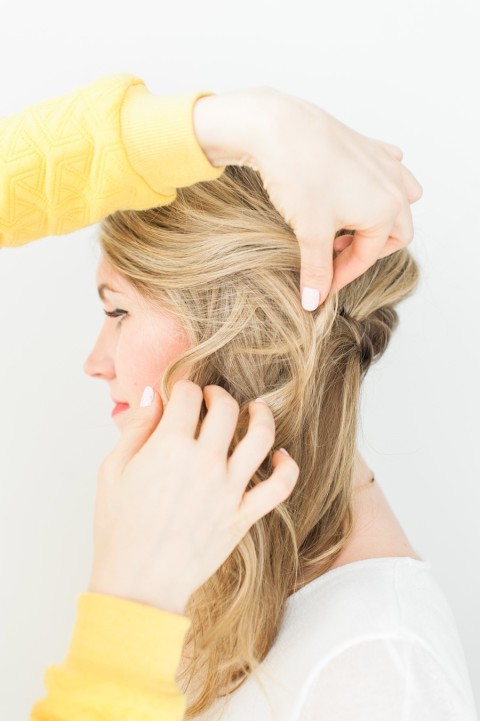
| STEP 3 |
On the opposite side of your head, grab an inch or two of hair, and back-comb it at the roots to give yourself some volume!
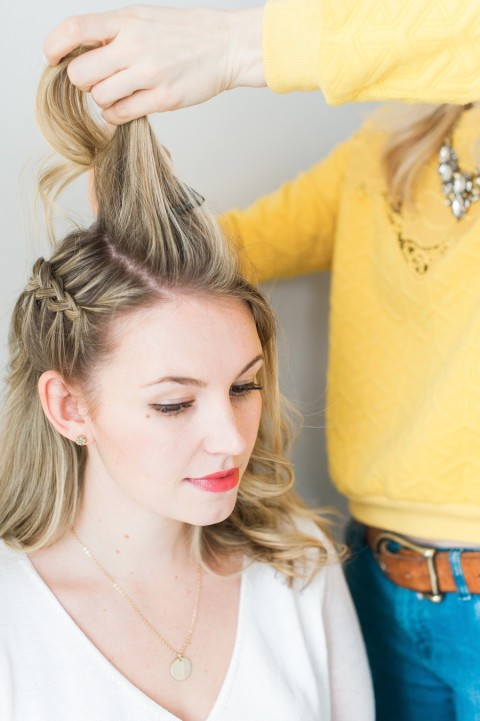
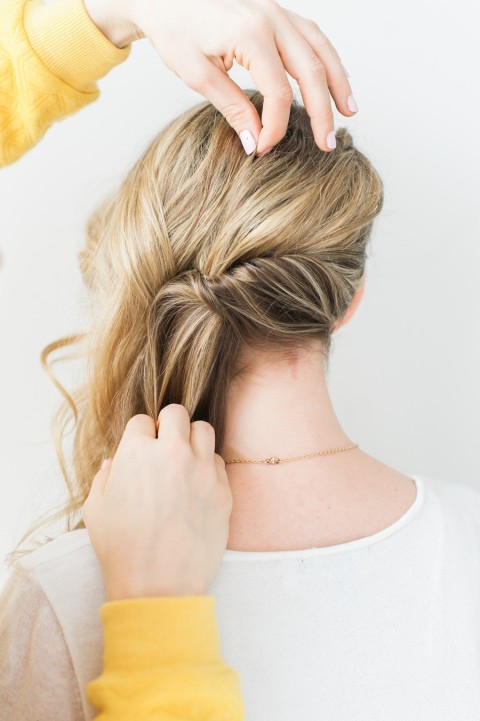
| STEP 4 |
Grab all of your hair and slowly twist it to the opposite side of the braid.
| STEP 5 |
Using bobby pins, secure the twist in place!
| STEP 6 |
Tousle as required. Every good hair do needs a good tousle, am I right?
| STEP 7 |
Spray and go!
Note: Best enjoyed with a glass of fancy wine, and a hot night on the town.

Braids by: Lexington & Co. | Photography: Heidi Lau
filed in /


